Imagine sinking your teeth into a perfectly baked lemon bar, where the buttery crust crumbles just right, and the tangy filling dances on your taste buds, leaving a delightful zing that lingers long after each bite. The aroma of fresh lemons fills the air, evoking memories of sun-soaked picnics and laughter shared with friends, making these treats not just a dessert but an experience to savor.
Now picture this: it’s a warm afternoon gathering with family, the sun shining bright as you serve up these luscious lemon bars, instantly drawing smiles and happy sighs from everyone around. Each slice is a little sunshine on a plate, perfect for any occasion, be it a summer barbecue or a cozy winter get-together, promising an explosion of flavor that will have everyone asking for seconds.
Why Is Lemon Bars So Irresistibly Good?
Bright, zesty flavor: The combination of fresh lemon juice and zest delivers an explosion of citrus goodness that’s both tangy and sweet.
Buttery crust: Made with just a few simple ingredients, the rich buttery crust perfectly balances the tart filling, making each bite a delight.
Quick and easy: With just 15 minutes of prep time, you can whip up these treats in no time, perfect for spontaneous gatherings or cravings.
Crowd-pleaser: Whether served at a picnic or as a cozy dessert at home, everyone will love these lemon bars!
Versatile treat: Enjoy them chilled or at room temperature; they’re delicious anytime!
Lemon Bars Ingredients
For the Crust
- 1 cup all-purpose flour – This forms the base of your Lemon Bars, giving it that delightful crumbly texture.
- 1/4 cup granulated sugar – Sweetens the crust just right, balancing the tartness of the filling.
- 1/2 cup unsalted butter (softened) – Ensures a rich, buttery flavor; make sure it’s softened for easy mixing.
- 1/4 teaspoon salt – Enhances all the flavors in your crust, making it even more delicious.
For the Filling
- 1 cup granulated sugar – Adds sweetness to counteract the tangy lemon juice.
- 2 large eggs – Provide structure and richness to the filling for a perfect set.
- 1/4 cup fresh lemon juice – The star ingredient that gives these Lemon Bars their vibrant tanginess; fresh is best!
- 1 tablespoon lemon zest – Infuses an extra burst of citrus flavor, enhancing the overall lemony goodness.
- 1/4 cup all-purpose flour – Helps thicken the filling and keeps it from being too runny.
- 1/2 teaspoon baking powder – Adds a slight lift to your filling for a light and airy texture.
How to Make Lemon Bars

1. Preheat the oven to 350°F (175°C). In a mixing bowl, combine 1 cup of all-purpose flour, 1/4 cup of granulated sugar, and 1/4 teaspoon of salt. Add in 1/2 cup of softened unsalted butter and mix until you achieve a crumbly texture.
2. Press the mixture into the bottom of a greased 9×9 inch baking pan. Ensure it’s evenly distributed and compact. Bake for about 15 minutes, or until it turns lightly golden.
Make the Filling:
3. Whisk together 1 cup of granulated sugar and 2 large eggs in a separate bowl until smooth and well-blended. Then, add in 1/4 cup of fresh lemon juice, 1 tablespoon of lemon zest, 1/4 cup of all-purpose flour, and 1/2 teaspoon of baking powder. Mix until everything is perfectly combined.
4. Pour the filling over your baked crust, ensuring an even layer. Return to the oven and bake for an additional 20 minutes, or until set and slightly firm to the touch.
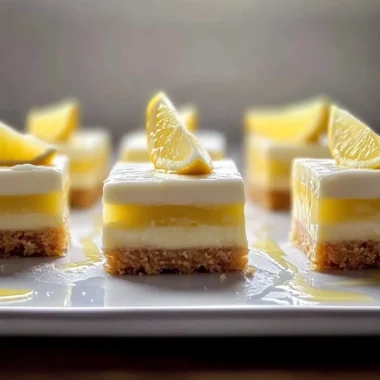
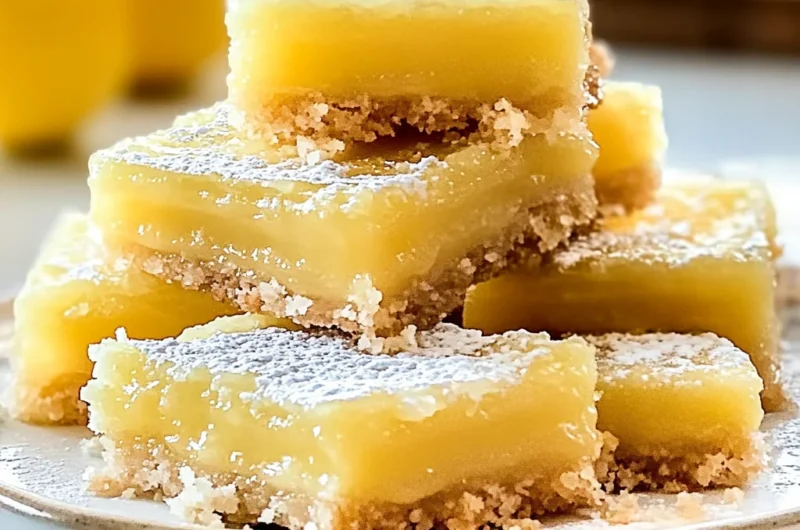
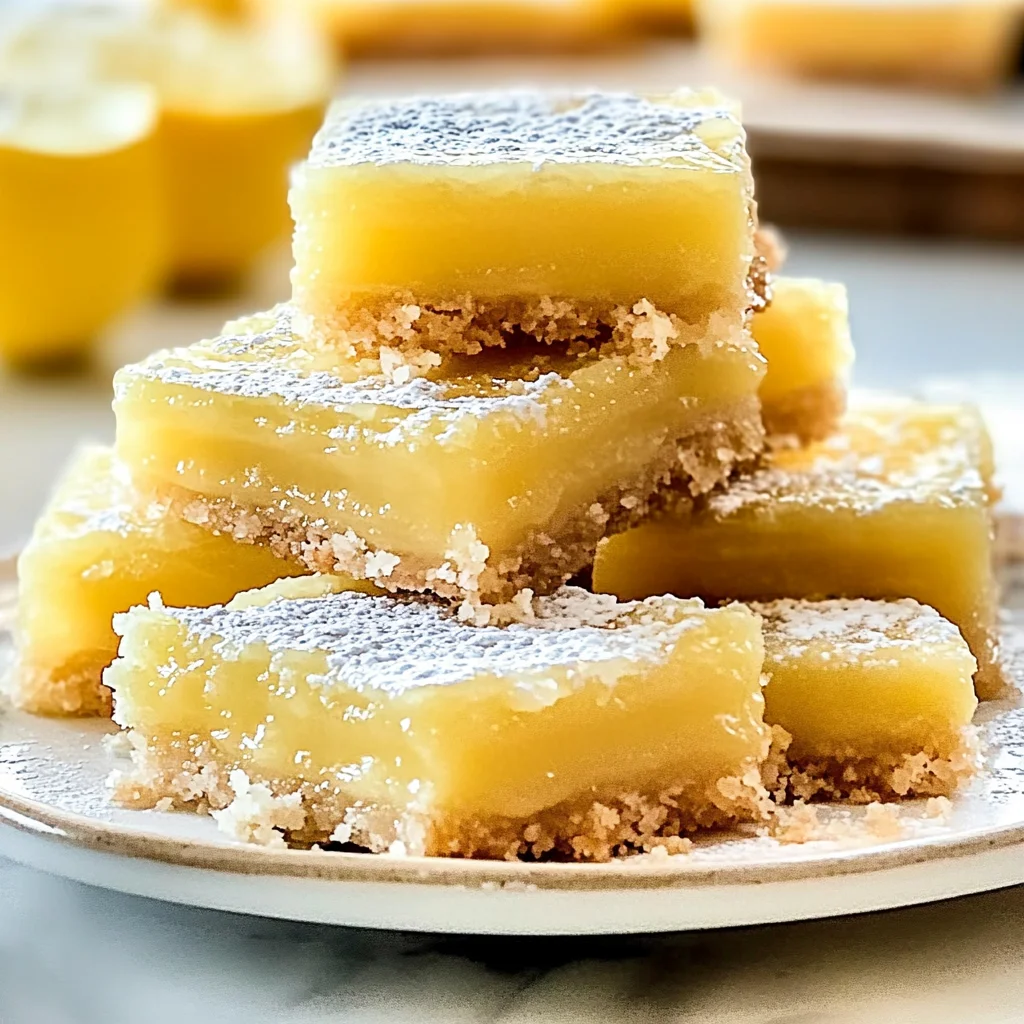
5. Cool completely in the pan before serving. Once cooled, dust with powdered sugar for that beautiful finishing touch and cut into delightful squares.
Optional: Garnish with fresh lemon slices for a bright presentation!
Exact quantities are listed in the recipe card below.
Expert Tips
- Butter Temperature: Use softened butter to ensure a smooth crust. Cold butter can lead to a dense texture in your lemon bars.
- Zest Carefully: When zesting the lemons, avoid the white pith as it can impart bitterness in your lemon bars.
- Whisk Well: Ensure sugar and eggs are whisked until completely smooth. This step helps create a light, airy filling that complements the crust.
- Cooling Time: Allow lemon bars to cool completely before cutting. This prevents them from becoming messy and maintains their beautiful appearance.
- Baking Pan Size: Stick to the 9×9 inch pan for optimal thickness. A larger pan may lead to thinner lemon bars that don’t set properly.
How to Store and Freeze Lemon Bars
- Room Temperature: Keep your lemon bars in an airtight container for up to 2 days. Enjoy them fresh for the best flavor and texture!
- Fridge: For longer storage, refrigerate lemon bars in an airtight container for up to 5 days. Chilling enhances their tangy sweetness!
- Freezer: Freeze lemon bars by wrapping them tightly in plastic wrap and then aluminum foil. They can be stored for up to 3 months. Thaw in the fridge before serving.
- Reheating: If you prefer warm lemon bars, gently reheat them in the microwave for about 10–15 seconds. Enjoy the delightful aroma as they warm up!
Lemon Bars Your Way
Feel free to unleash your creativity and personalize these delightful treats with these simple twists!
- Gluten-Free: Substitute the all-purpose flour with a 1:1 gluten-free flour blend for a deliciously tender crust. This swap ensures everyone can enjoy this classic dessert without missing out on flavor or texture.
- Vegan: Use coconut oil instead of butter and replace eggs with flaxseed meal (1 tablespoon flaxseed mixed with 3 tablespoons water). The result is a zesty, plant-based version that’s equally satisfying.
- Coconut Crust: Replace half of the flour with shredded coconut for a tropical twist. The added coconut brings a chewy texture and subtle sweetness that perfectly complements the lemon filling.
- Almond Flour: Swap in almond flour for a nutty flavor and added moisture. This variation not only enhances taste but also gives your bars a lovely, slightly denser crumb.
- Honey Sweetened: Replace granulated sugar with honey in both the crust and filling for a natural sweetness. Just remember to reduce the liquid in the filling slightly for balance.
- Spiced Crust: Add a pinch of cinnamon or nutmeg to the crust for an unexpected warmth. These spices add depth and make your lemon bars feel extra cozy and inviting.
- Chocolate Drizzle: Top your cooled bars with melted dark chocolate for an indulgent finish. This rich addition creates a delightful contrast to the tangy lemon filling, making each bite irresistible.
Make Ahead Options

Lemon Bars are a delightful treat that can easily fit into your meal prep routine, making them perfect for busy weeks or special gatherings. You can prepare the crust by combining 1 cup of all-purpose flour, 1/4 cup of granulated sugar, and 1/4 teaspoon of salt with 1/2 cup of softened unsalted butter ahead of time. After baking it for just 15 minutes, this crust can be stored in an airtight container for up to 3 days. The filling, made from 1 cup of sugar, 2 large eggs, 1/4 cup fresh lemon juice, and zest along with the remaining flour and baking powder, can also be whisked together in advance—just keep it refrigerated for up to 24 hours. When you’re ready to serve these scrumptious Lemon Bars, simply pour the filling over the cooled crust, bake for an additional 20 minutes until set, cool completely, dust with powdered sugar, and cut into squares. This not only saves you time but ensures every bite remains fresh and delicious!
Lemon Bars Recipe FAQs
What type of flour should I use for the crust?
All-purpose flour is perfect for the crust, as it provides the right balance of structure and tenderness. If you’re looking for a gluten-free option, consider using a 1: 1 gluten-free baking blend, which works similarly.
How can I ensure my lemon bars are set properly?
To ensure your lemon bars set perfectly, make sure to bake them for the full 20 minutes after adding the filling. You’ll know they’re ready when the center has a slight jiggle but is no longer liquid. Letting them cool completely in the pan will help them firm up further.
Can I use bottled lemon juice instead of fresh lemon juice?
While fresh lemon juice gives your bars that bright tangy flavor, bottled lemon juice can be used in a pinch. However, keep in mind that fresh lemon juice often tastes more vibrant and aromatic, enhancing the overall experience of your delicious lemon bars.
How should I store leftover lemon bars?
Store any leftover lemon bars in an airtight container at room temperature for up to 2 days. For longer storage, refrigerate them for up to a week. If you’re planning to keep them beyond that, freezing is a great option! Just wrap them tightly in plastic wrap and then in aluminum foil; they can last up to 3 months.
What’s the best way to serve lemon bars?
Lemon bars are delightful on their own or paired with a dollop of whipped cream or a scoop of vanilla ice cream. Dusting them with powdered sugar just before serving adds a lovely touch and makes them look extra inviting!
Can I adjust the sweetness of my lemon bars?
Absolutely! If you prefer your lemon bars on the less sweet side, you can reduce the granulated sugar in both the crust and filling by about 1/4 cup total. Just remember that this might slightly alter the texture, so keep an eye on those baking times!
Lemon Bars
Ingredients
Method
- Preheat the oven to 350°F (175°C). In a mixing bowl, combine flour, sugar, and salt. Add softened butter and mix until crumbly.
- Press the mixture into the bottom of a greased 9x9 inch baking pan. Bake for 15 minutes until lightly golden.
- In a separate bowl, whisk together sugar and eggs until smooth. Add lemon juice, lemon zest, flour, and baking powder. Mix until well combined.
- Pour the filling over the baked crust and return to the oven. Bake for an additional 20 minutes until set.
- Allow the lemon bars to cool completely in the pan. Once cooled, dust with powdered sugar and cut into squares.